Monday, 9 December 2013

Final Digipak

Final Digipak

Here is my final digipak. I have made a few changes suggested by my teacher and peers to improve it. The first thing I have done is add lyrics to the three inside panels of the digipak. This is to relate my digipak to the music video, and show that "Love Lost" is the lead single of the album. This adheres to conventions as many digipak's feature lyrics of the most popular songs on the album. The other change I have made is to retake the "Sorry" photo to make the sorry clearer and stand out more. This is a change suggested by my teacher and now the "Sorry" stands out and looks much stronger. Overall I am very happy with how my digipak has turned out, as it uses my running theme of choice and is quite powerful.

Final Draft


Final Draft

Here is our final draft for our music video of the Temper Trap- Love Lost. We have made the changes from our feedback on the last draft, and have removed the backwards lip syncing shots. This looks more effective and has made the backwards sequence more effective. We have also made the original shot last longer and there is a gradient effect to show the two paths as one being bad and one being good. We have, lastly, added a sound effect at the beginning to help show the protagonist is in a rural area.

Overall I am happy with this Final draft and depending on feedback we may make some more changes.

Friday, 6 December 2013

Final Magazine Advert

Final Magazine Advert


Here is my final magazine advert. I have made some changes that were suggested to improve from the previous draft. The first thing I have done is added two more reviews. This is to adhere to conventions, as most magazine adverts use multiple reviews and not just one. I have also made the bottom section tidier and moved the download adverts to the bottom, as well as adding websites and contact details there. I have moved "Florentine" to the top, as many magazine adverts do this. I also made the stars smaller and made sure that the pills in the background photo could be seen. Overall I am very happy with this magazine advert and think it reflects my band and themes well, as well as adhering to conventions.

Thursday, 5 December 2013

Feedback

Feedback on Digipak, Magazine and Music Video

Today we received written feedback from our classmates on our entire coursework project, and also verbal feedback from our teachers which I have written down to hopefully improve my grade. Here is the feedback:

Digipak

-Verbal
-"Sorry" in the top left photo needs to be clearer and framed better.

-Written
-Very indie and follows conventions well
-Possibly too dark, lighten two of the photos with exposure
-Genre appropriate
-Follows conventions
-Love the back panel
-Nice font
-Pills panels are stronger than ones of the person.


Through this feedback I can see that there are a few changes I should make to my digipak. I should definitely make "Sorry" clearer and will do so by retaking the photo.  I also could possibly lighten two of the photos, however I feel this may take away from the dark feel to my digipak, something I may have to consider.

Magazine

-Verbal
- Stars need to be smaller
- iTunes and other logos need to be smaller and at the bottom
- Remove "Buy on iTunes"
- Extra review needed

-Written
-Like the gold stars
-Advert relates well to digipak
-Yellow stars don't fit
-Clear theme
-Looks really good

Through the feedback on my magazine I can see there are lots of changes to make. I should definately add a few more reviews, and remove the "Buy on iTunes" part. I should also make the stars smaller and move the logos to the bottom. Hopefully these changes will make my magazine more effective.

Music Video

-Verbal
-None

-Written
-Understandable narrative
- Some lip syncing under annunciation
-Logo very good
-Takes 10 minutes to walk a very short distance
- Like how start and end are linked
-Good narrative

Through this feedback I feel that there is very little to change for my music video. I cannot do much about the lip syncing as it is extremely difficult to pull off and I have tried my best, and I feel that the video is still effective despite this.


Nearly Final Magazine Draft

Nearly Final Magazine Draft


Here is my almost finished magazine draft, which I have received feedback on. My magazine carries through my key theme of choice and uses imagery of hands and pills again, to reflect the characters choice. I have also followed conventions, using a big bold text for my band name and release date, having reviews and stating where you can buy the album from. Hopefully my changes will render this a more effective poster.

Nearly Final Digipak Draft

Digipak- Nearly Final Draft


This is my digipak, which is now nearly in its final stages. I have received verbal feedback from my teacher and am going to make changes for my final product. I have used a colour theme of black and white, and my digipak also contains the key theme running throughout my media coursework of choice. Clearly, in my digipak I am showing a wrong choice made, and that unlike my music video you can't simply rewind.
I have used numerous closeups of a hand, and shots of pills to reflect the bad choice the character has made.
Hopefully my changes will bring my mark up further and make this a more effective digipak.

Monday, 18 November 2013

Ideas

Ideas for my Digipack

I have decided to take some photos for my inside artwork. My concept is to have a boy, lying on the floor next to some pills, and 3 "ghosts" of him standing around him, in a kitchen. I began with these four photos


I then took each photo, put it into photoshop and layered each on top of each other. I then history brushed each seperate "clone" onto one picture, as shown below


From this point I now needed to make my three outside characters look ghost-like and spooky. I did this by sectioning each character off with the pen tool, then making them slightly opaque and adding a blur effect.
My now nearly finished inside photo looks like this:


I am going to ask for feedback on this and see what improvements I can make, as this image will be split into three and run along my entire inside panel.


Magazine Research

Magazine Research


These three indie artist tour posters/ magazine adverts that I have found illustrate some of the conventions of an indie bands advertisements. Two of the posters show the band standing out from the crowd- Dog is Dead are shown wearing typically "indie" clothing , as are Mystery Jets. However the final poster is a lot more abstract and creative, and doesn't give much about the band away- showing they care more about the music than the band image.

All of the posters use an extremely bold font on the name of the band- this is to catch the attention of the reader- a consistent band font can add to the band image, such as with Dog Is Dead, who use the same font for all their music digipaks, posters and marketing. This can be crucial for these bands as they cannot rely on being recognised or famous so have to come up with ways for their listeners to associate with them.


The posters also tell the reader where to buy their tickets from, and advertise show dates and times. This can attract a bigger crowd to their gigs and make them more popular, which makes it another convention of indie posters.

The Dog Is Dead poster also advertises their new single, another convention of indie posters. This helps to spread word about the band, and hopefully attract more listeners to their gigs.

Many posters use the album artwork from their digipak as their magazine advertisement, to further reinforce their band image and advertise their album along with the tour.

In conclusion, for my magazine I will look to utilise all these conventions for my final magazine advertisement as they are crucial for representing an indie artist


Digipak Research

Digipak Research

Mainstream Album Artwork

Before I begin to create my digipak, I have decided to look further into what both mainstream and indie artists use for their digipaks and album artwork. This allows me to make sure my digipak hits all the conventions of a digipak of my style of artist, so my digipak is as successful as possible.

Mainstream Female Artists


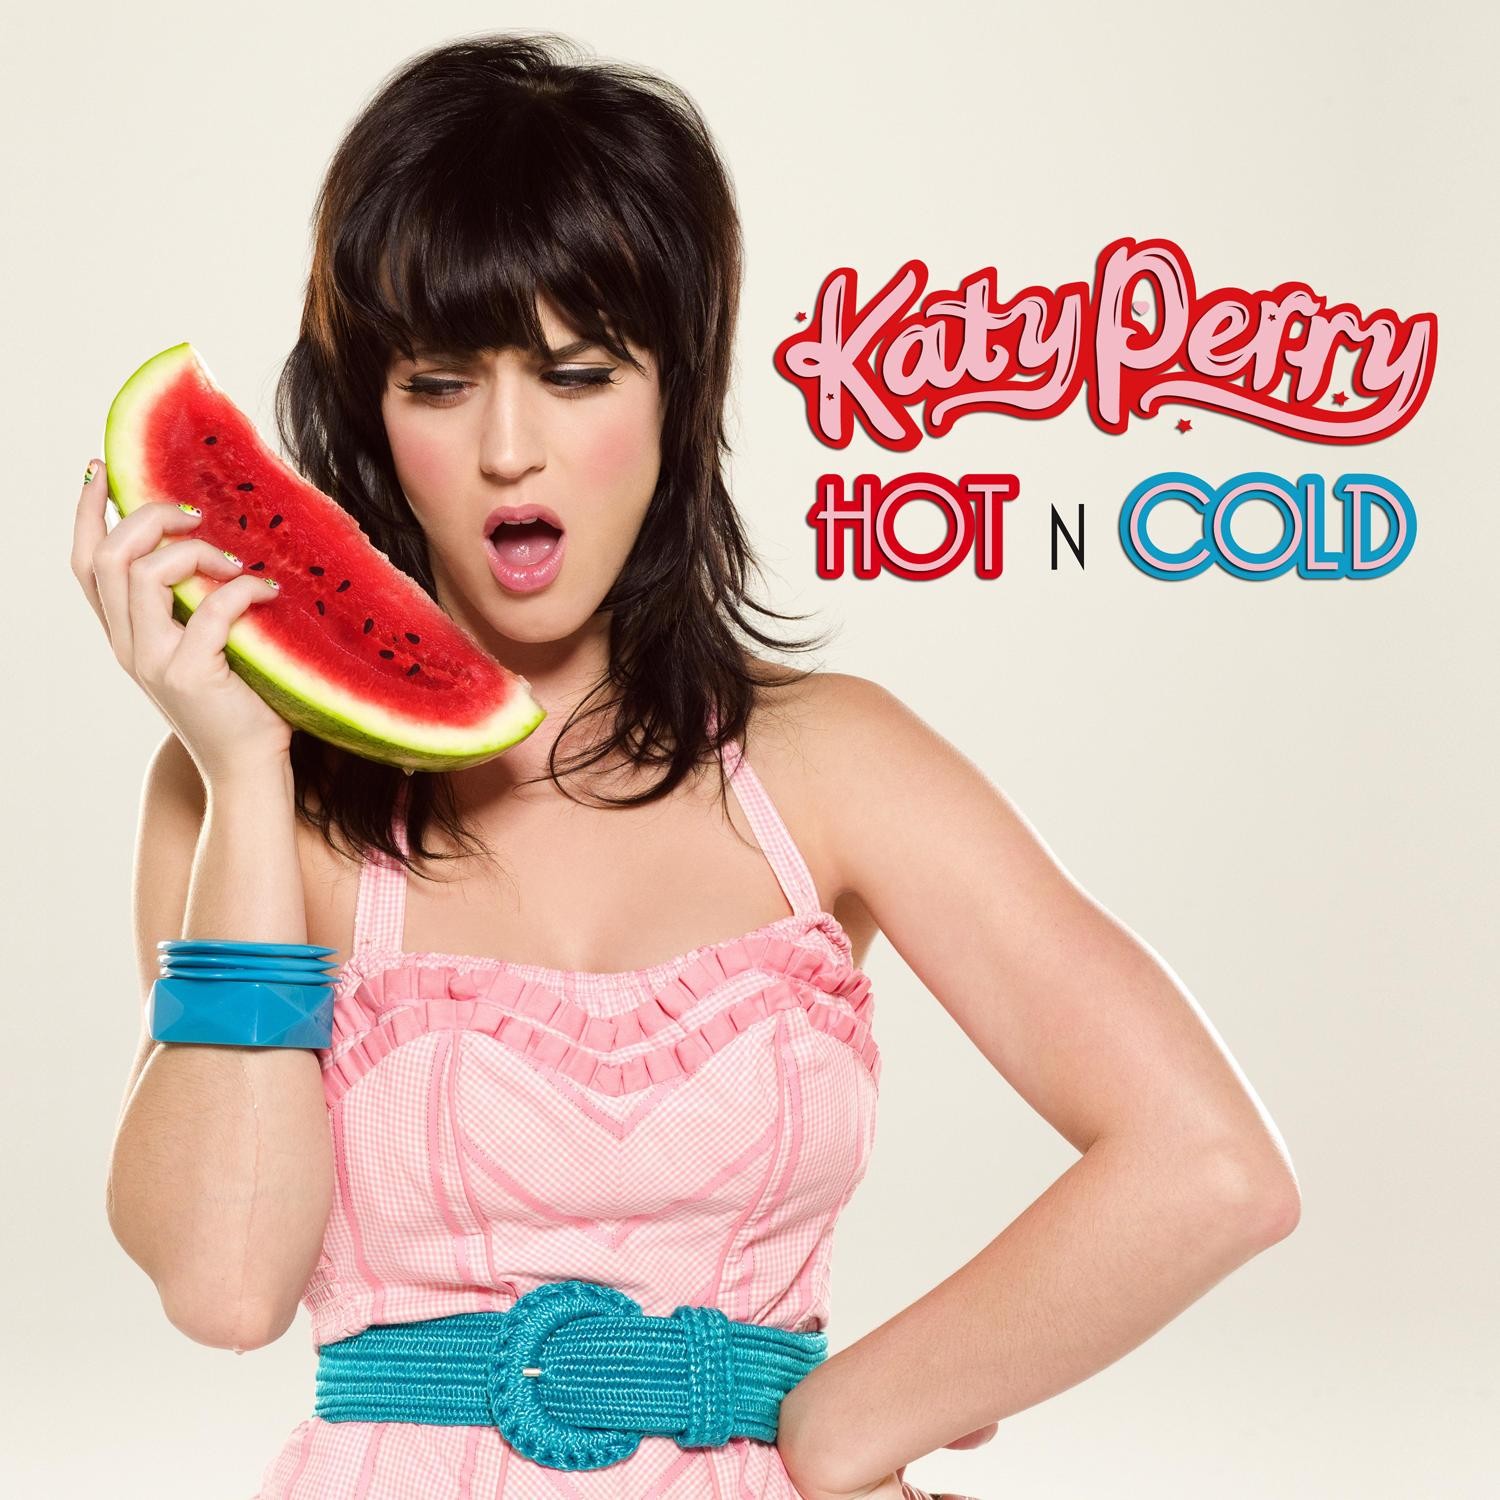
Judging from these three album artworks, we can see that the mainstream female artist's digipaks are often rather sexualised, as shown by Rihanna and Taylor Swift's album covers. They also have little artistic creativity, with all 3 simply being photos of the artist. This is used to make potential buyers recognise the mainstream and famous pop-star, and make them want to buy the album. This technique would not work with indie artists as often they simply are not famous enough to be recognisable. There is also either a lot of colour or black and white being used, as Rihanna uses a black and white effect and the other two artworks are extremely colourful. Obviously these artworks are not very useful for my indie artist, however there is some conventions that can be taken away from them.

Mainstream Male Artists
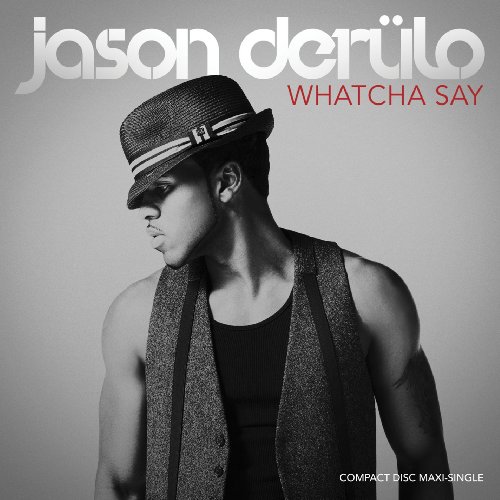


Mainstream male artists are much the same as the female artists. They also use little artistic creativity, and all three have a photo of the artist, which is again a marketing technique necessary in the mainstream market to get potential customers to recognise the brand of the artist. There is some slight creativity in Eminem's cover, which the album artwork reflects the name of the album, Curtain Call. There is also use of the black and white filter in Jason Derulo's album, something present in the female artists covers. The font choice is also interesting, as they are all stylised and add to the professional look of the album. Overall there is some useful conventions I can take to hopefully distinguish my indie artist from these mainstream artists.

Mainstream Bands


Mainstream bands, whilst having some of the same conventions as other mainstream artists, seem to have some differences and will help with my digipak. Still, as you can see by Maroon 5 and Take That's album covers, the focus is on the artist, a key theme throughout mainstream artwork, and that establishes the band identity. However, there is a bit more artistic freedom, as shown by One Republics album cover, which does not feature the band at all. The artwork is also reasonably colourful, to draw the eye when on the shelf and hopefully attract buyers in.


Overall, from the mainstream album artwork I have seen there is a number of things I should try to avoid when making my indie artist digipak. I should try to avoid directly showing the artist, as this is something that these mainstream artists do to try to attract customers, and this doesn't work with indie artists as they simply don't have the brand recognition necessary for this. Another thing I should avoid is making my digipak overly sexualised or marketed towards a certain age range, as again, this is a technique that mainstream artists use to draw in customers and it shows them as more about the money than the music, something an indie artist should not represent.


Indie Album Artwork

After researching mainstream album artwork and deciding on mainstream features I should not use for my album artwork, I have decided to research into the genre my artist resides ; indie music, These pieces of album artwork should be much more appropriate for my artist and should give me some conventions to take through to my digipak.


These first three indie band album covers are all using one key convention of indie artwork- showing the band in a distinctive way. As shown with Tribes' album cover, they are shown looking distinctive and away from the "norm" of society, something that is key with indie artists, as it shows they are in it for the music, not the money. Similarly with the other two covers they are shown in a different way to mainstream artists, with slightly out-of-date clothes, leather jackets and costumes, something that wouldn't be seen on a mainstream album artwork. On Swim Deep's album there is also the use of a symbol to represent the band, something that is a convention of indie music, as many bands struggle to distinguish themselves so use symbols as a way to improve their brand.
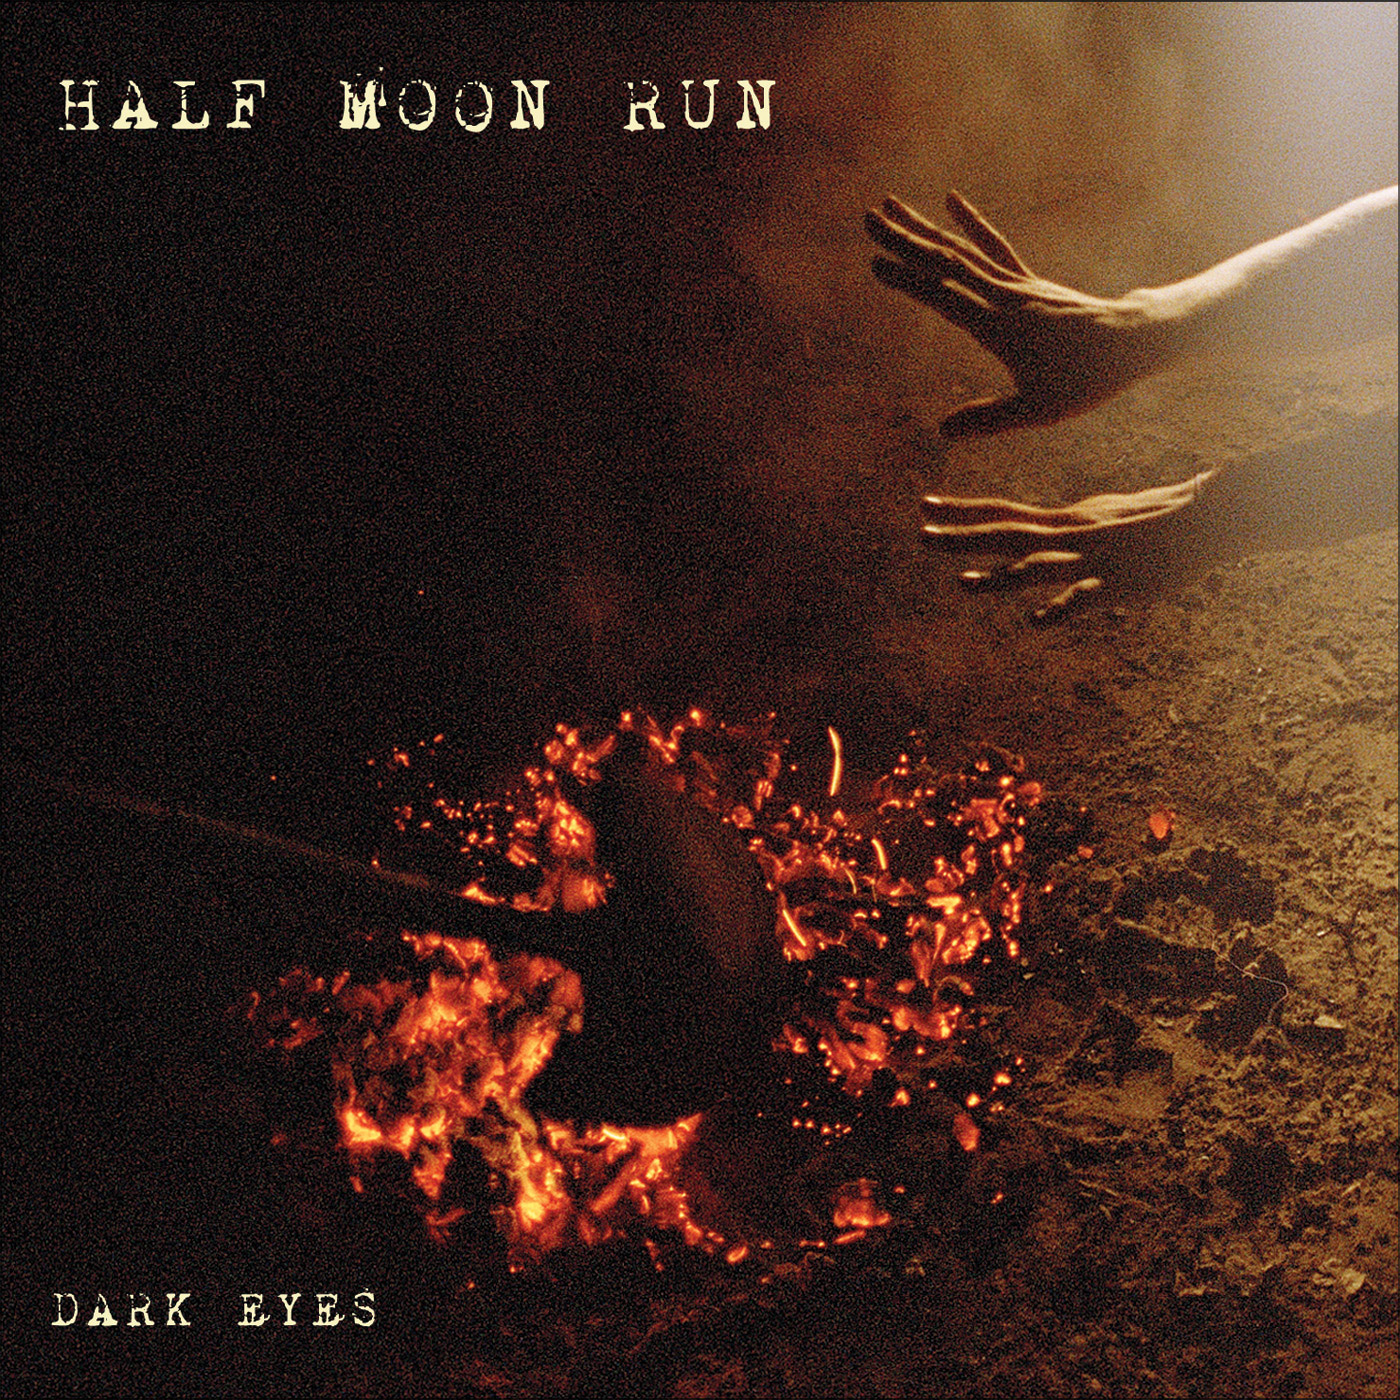
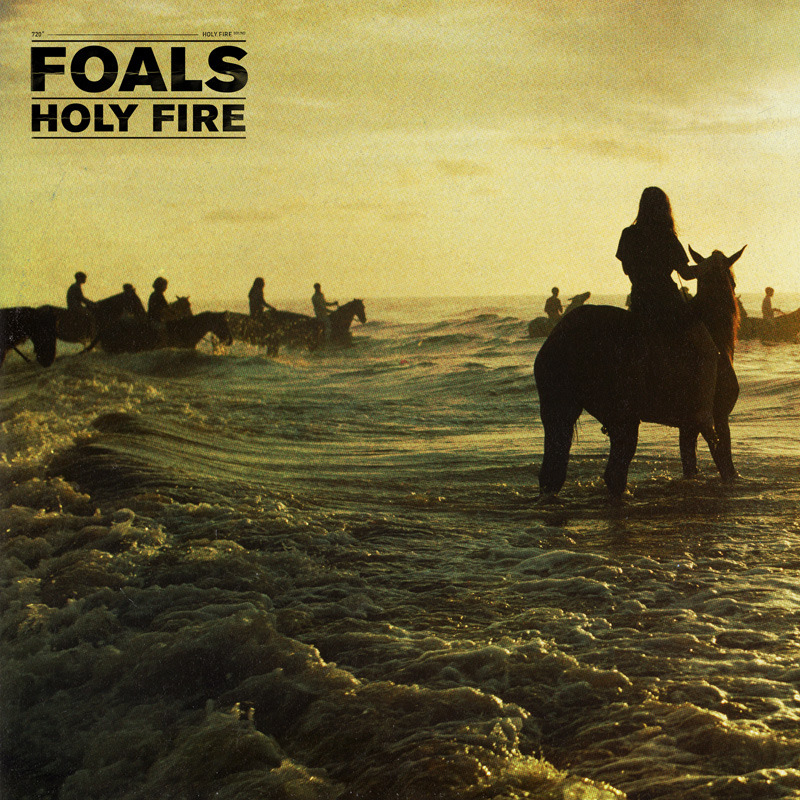

These next three indie band cover another aspect used a lot in indie artwork- a symbolic representation of their album name.  The first cover represents the name "Dark Eyes" with a smoldering fire  and a dark left hand side of the photo. The other two similarly represent their album name and this is something crucially different to mainstream artwork- the fact that the digipak means something, and has a deeper meaning than just the artist. Many indie artists will pick a theme and have this running throughout their digipak, and this helps to show that their music means something, and is written by them and not "produced" by an external company using them for profit. This album artwork is definitely something I want to do, as it allows me to have a running theme throughout my digipak and adhere to indie digipak conventions.


However, indie artworks can also be very abstract, like these three shown above. These types of album artwork give little information about the band. This is useful for an indie artist as it makes people simply listen to the music, and not worry about the bands image, which is crucial in mainstream artists artwork. It also allows for more artistic creativity, and the band can experiment with what they like best.


Overall, for my indie digipak I am looking at creating one with a running theme throughout, such as "Half Moon Run"'s album artwork, as I feel that it is creative and will allow me to hit lots of indie conventions and make my indie band stand out from the crowd.

Thursday, 14 November 2013

First Draft

First Draft


Here is the first draft of our music video. We have asked for feedback on the video and have got some from our teacher. We are going to make these changes for our final video

- The initial shot does not convey the two paths concept clearly- possibly try some different effects?
- Not sure about lip syncing in the reverse shots- possibly remove
- Editing pace is appropriate
- Good variety of shots

I agree with this feedback and will therefore be making these changes for our final video. Hopefully our final draft will come out better and improve our mark.

Friday, 25 October 2013

Filming Update 2

Filming Update 2

Today we have gone to our location and re shot some our entire lip syncing sequence and some filler shots. We should have done this some time ago but due to unforeseen weather circumstances and our actor forgetting his mise-on-scene we had to postpone. If we had shot in drastically different weather then there would be obvious continuity errors that would have taken down our overall mark.

Overall the shoot went very well, the lip syncing now looks better and we will have no black gaps, and I will proceed to edit the clips into our video and see what further changes we need to make

Friday, 18 October 2013

Filming Update

Filming Update 18/10/2013

We have filmed our first set of shots for our music video. We did this on the 11th of October, and have proceeded to edit this into a pre-first draft. This has allowed us to work out that we need to reshoot quite a few shots. Some of these include our lip-syncing shots, as they did not fit correctly with the song and we hope to address this with a reshoot. We also need to take extra filler clips, and reshoot the first shot as we don't have enough footage to fill the 3 minutes and the first shot did not show the crossroads clearly enough.

However it is very difficult to get the correct time to film- as our first set of shots was filmed on a reasonably nice and dry day- something that is proving difficult to come upon this week as it has been raining. Also our actor has forgotten some vital mise-on-scene when we tried to film earlier in the week, so we decided to call it off until a better day comes along and we have everything we need to make it as good as possible.

Here is our pre-first draft (still lots more to do)


Editing

Editing Screenshots

We are currently in the process of editing our first draft of our music video. We are looking at using many different editing techniques and experimenting with things we haven't tried before.

Colour Correction


Before
These are the settings that we have chosen to colour correct our video. I have gone with a lot more vibrant greens because there is a lot of green in our video, so this will help to make our video stand out and look a lot more aesthetically pleasing. As you can see below, the final colour corrected photo looks a lot more interesting, and the green grass behind our protagonist looks much more vibrant.
After

After
Before
Gaussian Blur

Here we have added the Gaussian blur effect shown above. At the start of the clip we have the blur settings set to 0, as the blur is going to start halfway through the clip.

By the end of the clip the settings have increased, and the blur has occurred, turning the shot into the "After" shot shown above. This gives our music video's end a more professional look, and gives the video closure.
Here we are reversing our clips for the ending of our video- this is done by a simple tick box and it makes our clips go in reverse- perfect for our video.


Here we are slow-motioning one of our clips. This is done by changing the playback rate, as I have done in the clip by changing it to 0.7 instead of 1.0, the normal speed. This effect is crucial for our tripping and mugging scenes, where slow-motioning is useful to make them more dramatic and powerful.


We have also used very fast cuts in some areas, so we have zoomed in the timeline to allow us to sync it to the music correctly, and hopefully making it accurate to the music.

Monday, 30 September 2013

Test Shots

Here are some test shots that me and Brad went out to take today. Generally they went okay, however there are some notable issues that we must address for our final video. Firstly, some of the shots were shaky, as I cannot use a tripod for the walking shots. This can be fixed slightly by holding the camera with the strap fully pulled on my neck, so it stays steadier during shooting. Another thing that should be addressed is how the starting shot is done- in our practice shot you couldn't see the crossroads clearly and it didn't seem to be obvious that our protagonist took one of two paths.

However, I did like some of our shots from behind trees, bushes etc as they provided a break from the lipsyncing and increased our shot variety. I also liked the reverse footage, as it seemed to work well with the part of the music we wanted it to go with, which is pleasing as it means our song choice was justified.

Overall there is a lot to improve on but hopefully we can learn from this and improve for our final video.

Sunday, 29 September 2013

Focus Group

Focus Group 1- Ideas and Storyboard


Me and Brad have interviewed a small group of students in our year about our ideas for our music video and our storyboard. Below are some of the questions and responses from them.


Question 1 - Do you think our narrative is easy to understand?

Student 1 : Yes, but I hope it comes through in the music video
Student 2 : Yes, it's clear and is a good concept
Student 3 : No, but if done right it could work

Question 2 - Do you think the song suits our concept?

Student 1 : Yes, performance wouldn't really work with the song so I think it works well
Student 2 : Yes, the part where it rewinds fits with the end chorus
Student 3 : Yes, the lyrics suit your concept

Question 3 - Are there any improvements necessary to make the narrative clearer?

Student 1 : Make sure that the crossroads is very clear in the opening shot
Student 2 : The mugging should be very clear and action packed
Student 3 : You should try to make sure the location and the crossroads are defined and fit the song

Question 4 - Do you think our location fits our concept?

Student 1 : Yes, the crossroads is clear and the path is very long.
Student 2 : No, I think a more urban area should be used
Student 3 : Yes, I think an urban area would be too difficult to film in.

Question 5 - Overall, do you think there are any other changes we need to make?

Student 1 : I wouldn't say so, after we see the first draft there may be changes to be made
Student 2 : Make sure the protagonist suits the music style you have chosen
Student 3 : No, everything seems good to go.

Overall, this focus group gave good insight into our current concept for our music video. I think our pre-production and concept is nearly ready to be created, and these 3 students seem to agree with me. We will definitely take their suggestions into account, especially making sure that the crossroads and opening shot is clear and visible and making sure our protagonist suits the music style. I think we will begin shooting very soon and hopefully come back with more feedback after our first draft is complete

Wednesday, 25 September 2013

Treatment

Love Lost- Temper Trap Music Video Treatment


Song: "Love Lost"
Artist: The Temper Trap

Concept

We will be producing a music video for this song, along with a digipack and other pieces of promotional material for our artist.

Narrative

Our music video will center around the key theme of choice. Our protagonist will, in the beginning of the video, be stood at a crossroads, where he will take the right path. This path will prove to be a bad decision, as shown when he trips over, and then further down gets mugged. We are then shown the protagonist rewinding time, until he returns back to his original position, where he picks the other path.

Location(s)

The music video will be shot in one primary location, which is a nearby nature reserve which has the exact crossroads we were looking for. The crossroads will be used to show the characters choice. The location is also rural enough to provide area's for the protagonist to trip, whilst being urban enough to make the mugging viable.

Pace
The song is quite slow paced during verse's, so we have chosen to make the bad occurrences happen during the much faster chorus's, as it will fit the song better. The end chorus will be used for the rewind, as it is the fastest part of the song

Colour/Tone

The video will be shot in standard colour, however if I feel it needs a more cinematic look or doesn't look vibrant enough I will colour correct the footage to make the video look as visually appealing as possible.

Mise-on-scene

The mise-on-scene in our video will not be too extensive, as a key part of the music video is making the protagonist seem ordinary. The muggers will be wearing tracksuit bottoms and a hoody, to hopefully show the danger they pose. A knife will also be used to show the threat the protagonist is under.

Filming

Our video will be shot with a DSLR, the Canon 600D. This is my own personal camera, which I am using because I know how to use it effectively and can use custom settings to tailor the video to how we want it. The image quality will be 1080p 24 fps, which is extremely cinematic and is the fps used by professional films.

Editing

Our editing will be done on Sony Vegas Pro. This is a solid editing program which will allow us to easily add in the effects, such as slow-motion and reverse, which we will be using in our video to create an interesting visual experience

Target Audience

Our music video's target audience will be male and female's from the ages 16-20, as this is the general indie artist's target audience, which we hope our music video will appeal to with the strict all narrative theme we are going with. We also think because the video represents something and has an underlying meaning
, fans of the genre will enjoy this as it isn't like all the mainstream mainly dancing videos.

Pack

Tuesday, 24 September 2013

Location Recce

Today after looking at various possible locations around both of our local areas, Brad and I went to have a look around the area where Brad found his locations.  We eventually decided that the place we found, which was right next to some of our previous possible locations,  is perfect for our concept as the crossroads are very clear and quite secluded like we wanted in order to fit with our video, also the area is a short walk from school, meaning we can easily get our actors and props to the location with little hassle, and reshoots if necessary will be easy to organize.

Thursday, 19 September 2013

Risk Assessment


Possible locations

Both me and Brad have been looking around our local area for a crossroads which is suitable to shoot our music video at. Below are some of the places we found.
We are going to make a choice after looking through all the photos and working out which is most practical.


Here are some locations Brad found: